Making Smooth Hills using Tracks
A "Bob's Track Builder" Tutorial
By R Soul
Contents
Part 1 - Explaining the basic conceptsPart 2 - Why this is better than using 3 or 4 terrain panels
This tutorial demonstrates a way of using another track (in addition to your main track) to make it easier to build terrain with smooth gradients.
Part 1 - A simple example
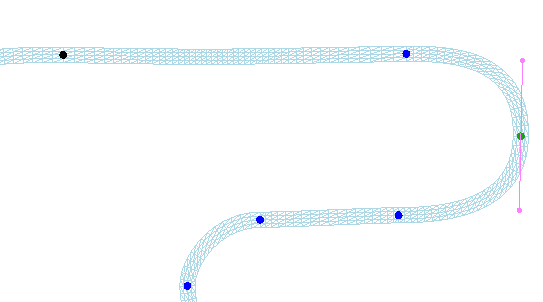
Start a new project in BTB, and make a closed-loop track with a few corners with different directions. The track can be completely flat - the gradient doesn't matter. Make the first corner fairly tight, but not so tight that the track overlaps itself:
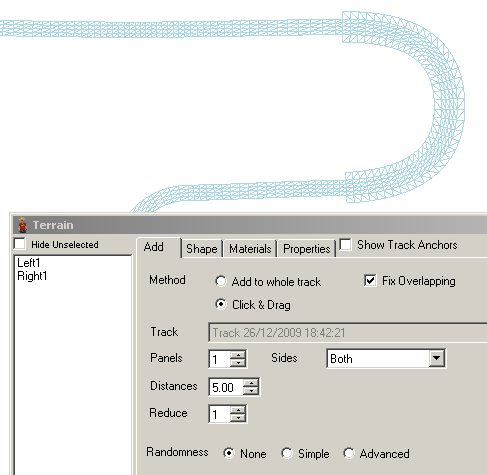
Most race tracks, even the old Nurburgring, have some flat ground between the track an any hills they wind around, so add some flat terrain to both sides of the first corner. There's no need to use the randomness feature. Use 1 panel, with a distance of 5 meters:
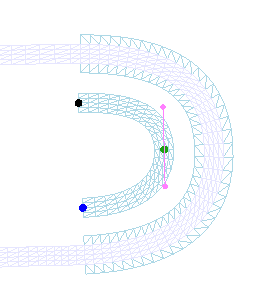
The ground inside the corner should rise up in a fairly smooth way. Make a new open-ended track inside the first corner. It doesn't have to follow the curve of the corner, but for this tutorial it helps to keep things simple:
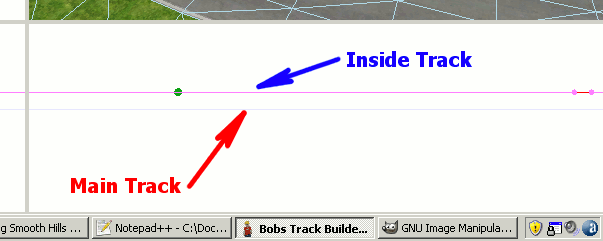
The next thing you need to do is move the new track upwards by a small amount. Select all the points, and using the side/front view panes, hold Shift and Y, then click and drag to move the points upwards:
Add a very thin strip of terrain to the outside of the new track (distance of 1 meter, 1 panel, for the entire track):
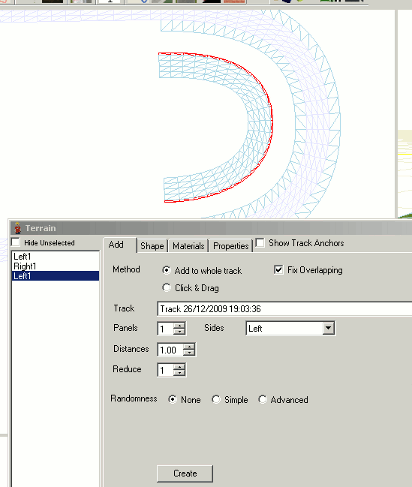
At this point it might become obvious what I'm suggesting. You can now add your own terrain panels which join the terrain inside the first corner to the terrain outside the new track. Since the new track is higher up, the new terrain will slope upwards. The best means of adding the terrain depends on the layout of the track and your own preferences.
Method 1 - Use the "Fill" function
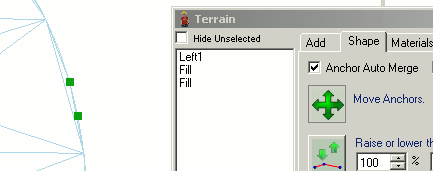
Open the Terrain editor, and select the Move Anchors button. Click and drag around some of the terrain points (or all
of them if you want) for the corner. Then right-click on one of the track windows and select Fill:
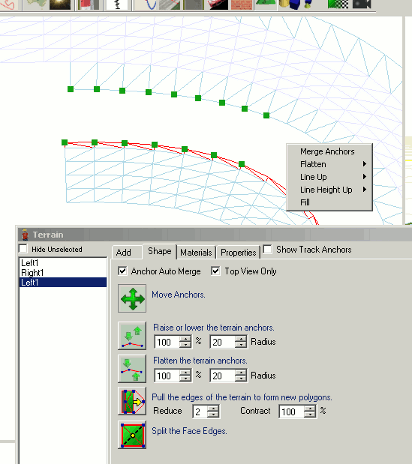
At first this method looks perfect, and in some cases it will be, but the red ellipse in the image below shows a problem. There is a very small triangle between the large triangle and the ones that extend from the main track:
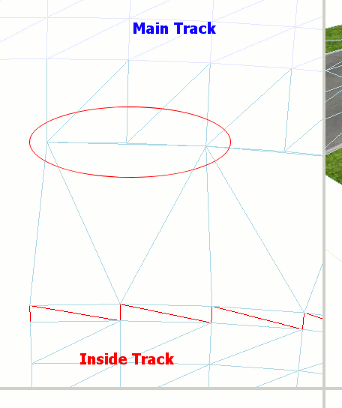
This is because the main track is not perfectly straight, and it's rare that it ever will be.
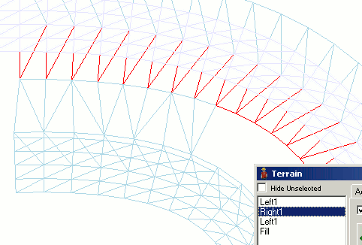
I've never liked extremely narrow polygons so I'd recommend the following step: Open the terrain editor, select Split the face edges and click on the edge of the large triangle:
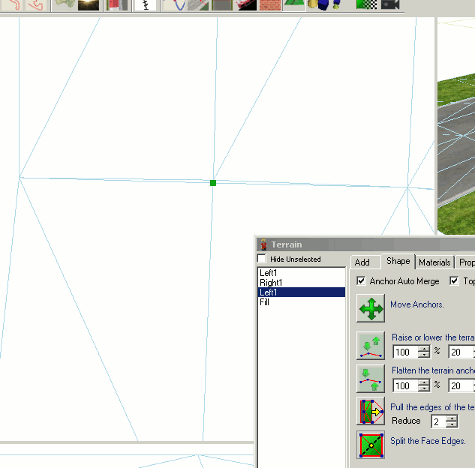
The new point can then be merged with the point above it, which will eliminate the narrow triangle.
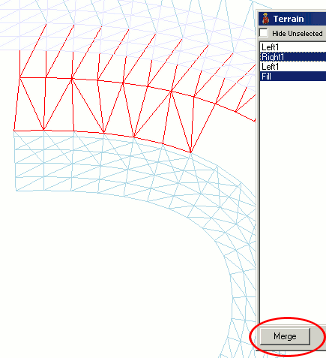
The new terrain will be in a separate group called Fill. If there is a clear difference in how this is illuminated compared to the flat terrain inside the first corner, the two groups should be merged:
Method 2 - Manually add the new triangles
In the terrain editor you can select Pull the edges of the terrain to form new polygons, and then click and drag the terrain. It's important that you start from a polygon in the correct group (Right1 using the above examples):
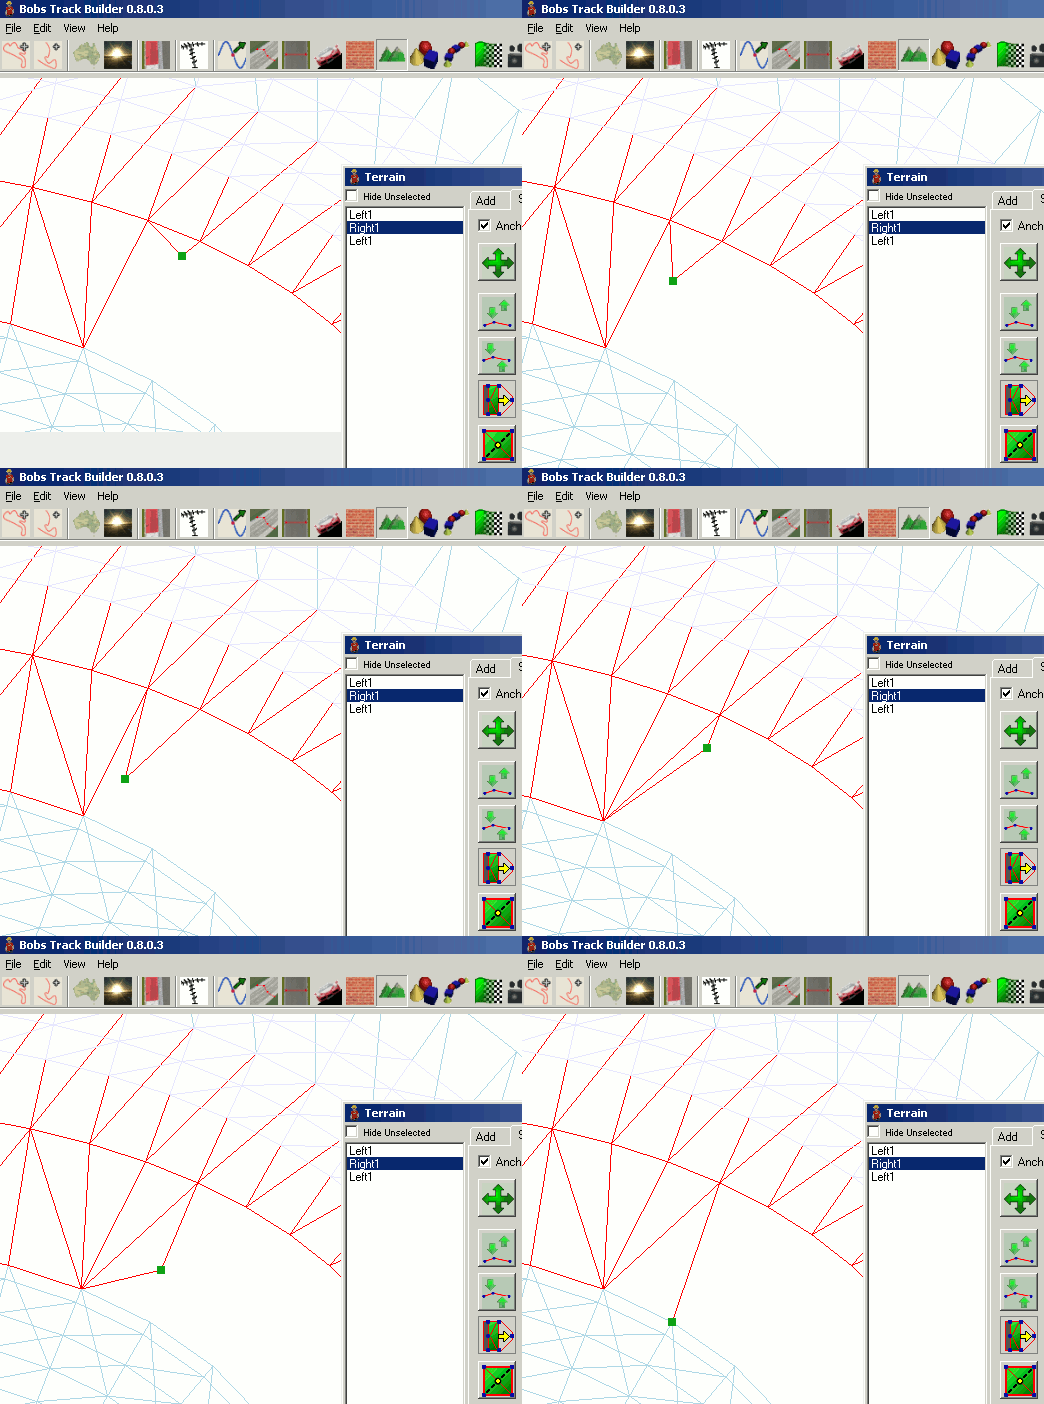
This method may take longer, but the main advantage is that since you have complete control over how the triangles are created you needn't worry about the extremely narrow ones created by the first method.
Creating the Next Level
Go back to the terrain editor, select the terrain for inside track, and delete it:
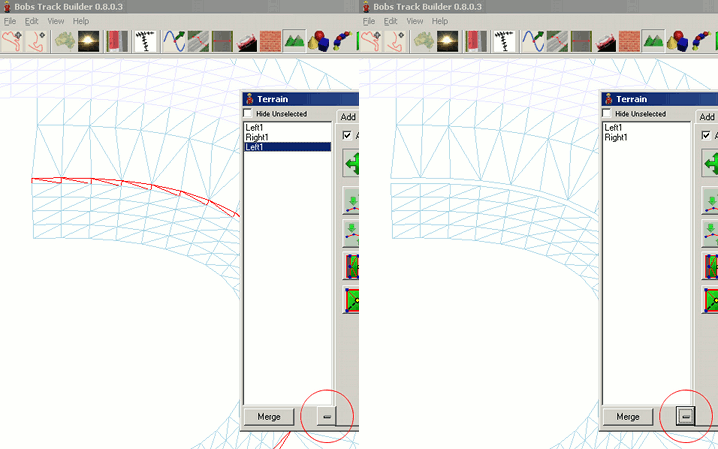
The nodes for the inside track need to be moved inwards to make room for more terrain. Terrain that is far from the track does not need to be too detailed, so go the the Surfaces tool and increase the panel length to 10:
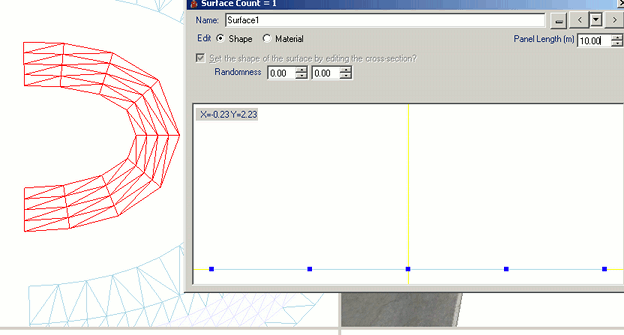
The nodes will also need to be dragged upwards to give more height. Once the track has been shrunk and raised, add 1 panel of 1 meter terrain to it:
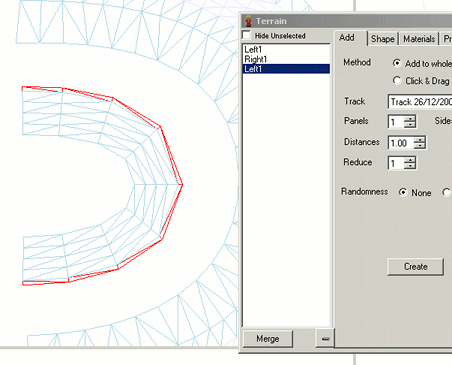
Select the nodes and either use the Fill function or manually drag the triangles until the gap is full:
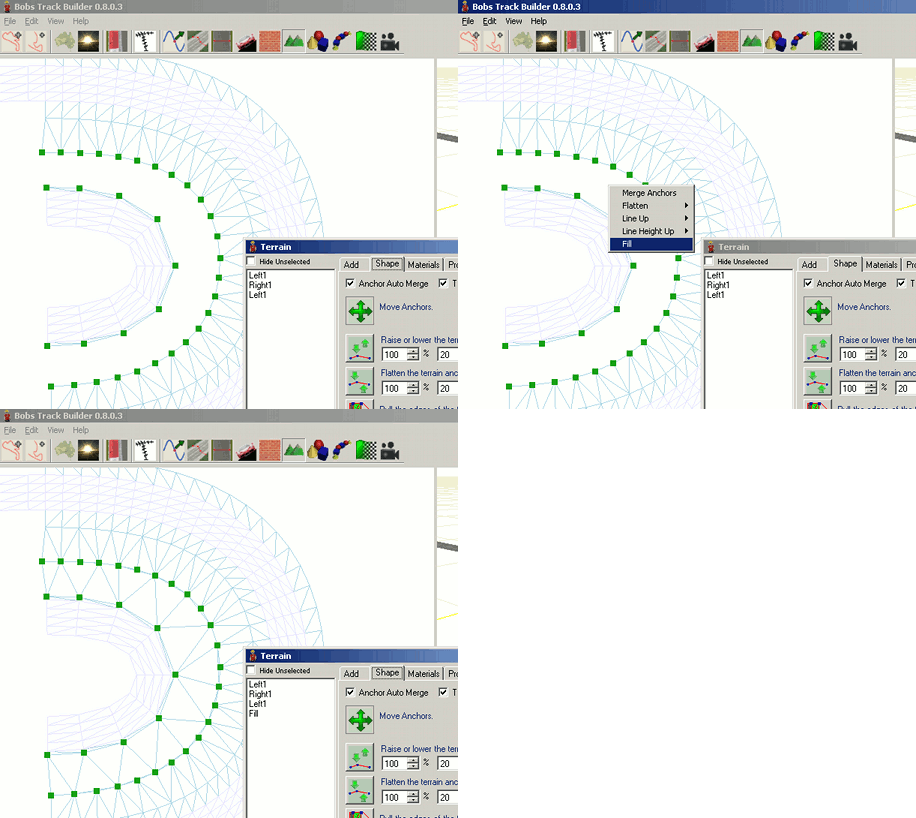
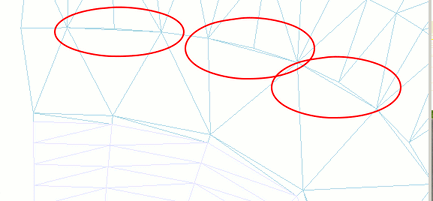
If you used Fill, remember to look out for narrow triangles, and use Split the Face Edges to elimate them:
And then merge the filled terrain with the existing terrain.
To add another level of height, delete the narrow strip of terrain around the inside track, move the track up, move the nodes inwards and repeat the above steps. When you've finished, you can delete the inside track.
Part 2 - Why this is better than just using 3 or 4 terrain panels
The above terrain could be more easily made using a few terrain panels, selecting a load of points and then dragging them upwards (using Shift and Y). But the above method is very good when you want a bit of variation - e.g. when the hill is steeper at one end of the corner. Try the following example:
If your example track is still open, great. If you closed it, make a new one, with 1 panel of terrain at 5 meters from the track around the outside of turn 1. Add a new track, open-ended with a shape similar to this:
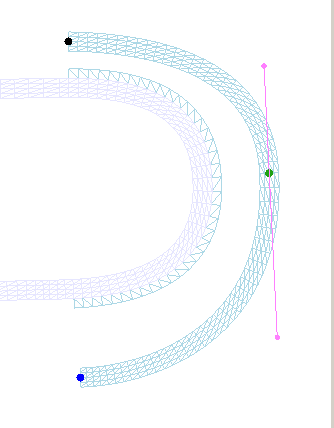
Next, leave the first node where it is, and move the last one downwards, but quite a large distance. Any nodes between the first and the last can be moved however you want. In this example the curve moves downwards quite smoothly, and moves away from the main track.
Start:
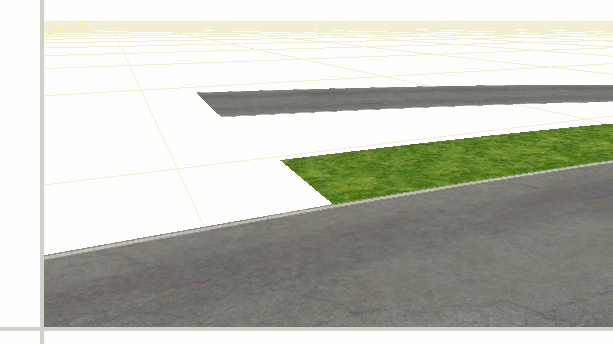
End:
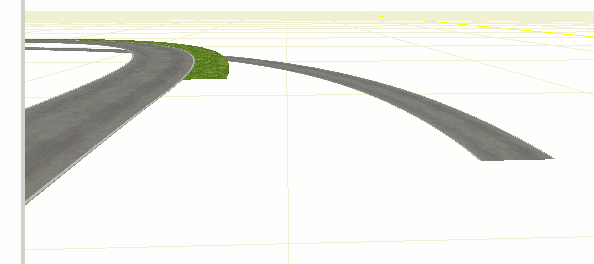
To the inside of the new track, add 1 panel of terrain, at 1 meter:
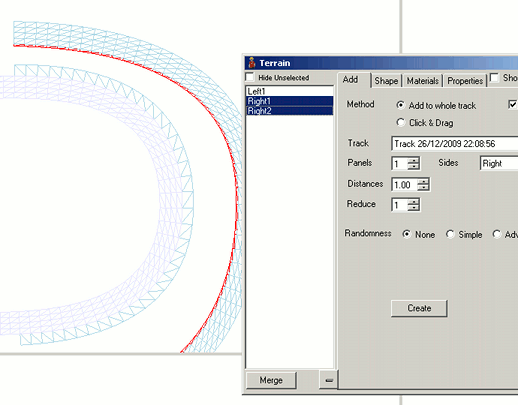
Then you can fill the gap with terrain. Remember that the Fill function might generate a quite a few of those narrow polygons:
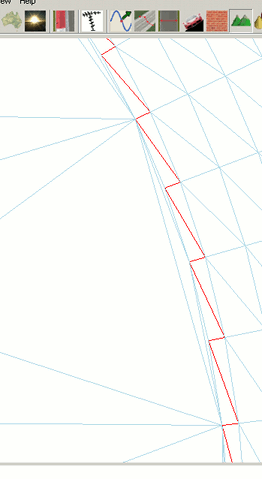
But removing these is not as hard when they're on the outside of a corner. You can delete the narrow terrain you made for the open track. Alternatively, you can just delete the track, which will take the terrain panels with it:
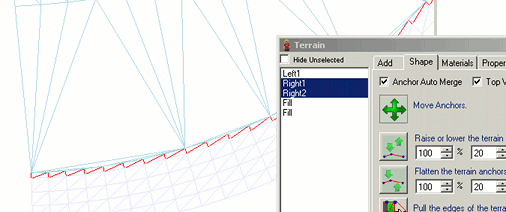
Or
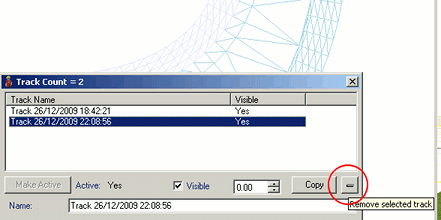
Either way the outside of the corner will look like this:
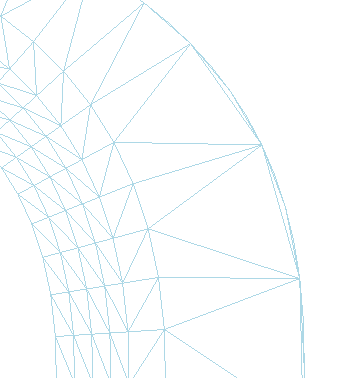
You can select Move Anchors, click and drag around the edge of the large triangles, and you'll be able to get most of the unnecessary terrain anchors:
After deleting those points and merging the terrain, you should end up with something like this:

It's now time for you to experiment with a few other shapes. Try having the open track raised at the start, lowered in the middle, and raised again at the end, and then joining the terrain.
R Soul